(→Battle) Tag: Visual edit |
m (Reverted edits by 210.195.128.192 (talk | block) to last version by Protostealth) |
||
| Line 15: | Line 15: | ||
|strength2 = 1x [[MiG-1.44]] ([[Allen C. Hamilton|Hamilton]])<br />4x [[Su-47 Berkut|Su-47]]<br />3x [[EF-2000 Typhoon|Typhoon]]<br />1x [[Su-27 Flanker|Su-27]]<br />4x [[F-22A Raptor|F-22A]]<br />Numerous ground troops<br />Multiple [[Gun Tower]]s<br />Unidentified submarine<br />[[SOLG]] |
|strength2 = 1x [[MiG-1.44]] ([[Allen C. Hamilton|Hamilton]])<br />4x [[Su-47 Berkut|Su-47]]<br />3x [[EF-2000 Typhoon|Typhoon]]<br />1x [[Su-27 Flanker|Su-27]]<br />4x [[F-22A Raptor|F-22A]]<br />Numerous ground troops<br />Multiple [[Gun Tower]]s<br />Unidentified submarine<br />[[SOLG]] |
||
|preceding = [[Operation: Glory Horn]] |
|preceding = [[Operation: Glory Horn]] |
||
| ⚫ | |following = [[Operation: Arcadia]]}}{{Operation2Mission|[[ACES]]}}The '''Battle of Sudentor''' was one of the final battles of the [[Circum-Pacific War]]. It was fought between a coalition of [[Osean]]-[[Yuktobanian]] forces and the [[Belkan]] [[Gray Men]] (who also had some Osean and Yuktobanian warmongers on their side). |
||
| − | |following = [[Operation: Arcadia]]}} |
||
| − | {{Operation2Mission|[[ACES]]}} |
||
| ⚫ | |||
==Prelude== |
==Prelude== |
||
| Line 27: | Line 25: | ||
==Battle== |
==Battle== |
||
| − | By the time the Razgriz Squadron made it to Sudentor, most of the Osean-Yuktobanian coalition forces were already in the area. Multiple units from both countries joined Razgriz, including [[AWACS Oka Nieba|Oka Nieba]], a Yuktobanian [[AWACS]]. In response, Grunder Industries requested assistance from the countries' forces as well, more specifically the warmongers, and offered them a [[V1|V1 tactical nuclear weapon]] in exchange. AA artillery and defensive pillboxes belonging to |
+ | By the time the Razgriz Squadron made it to Sudentor, most of the Osean-Yuktobanian coalition forces were already in the area. Multiple units from both countries joined Razgriz, including [[AWACS Oka Nieba|Oka Nieba]], a Yuktobanian [[AWACS]]. In response, Grunder Industries requested assistance from the countries' forces as well, more specifically the warmongers, and offered them a [[V1|V1 tactical nuclear weapon]] in exchange. AA artillery and defensive pillboxes belonging to Osean Federation opened fire on the coalition forces, while the coalition's tanks and helicopters attempted to enter the area. With close air support from Razgriz, the pillbox line and AA artillery were destroyed. Partly through the battle, air units from the warmongers, including [[Allen C. Hamilton]], all began to engage the Razgriz Squadron at once. The coalition air units moved to defend them while the ground forces and helicopter units began to open the facility's tunnel. |
The tunnel was eventually opened, and the entire Razgriz Squadron flew in through one side (with Hamilton in hot pursuit) while [[Jack Bartlett]] came in through the other side; they needed to destroy both of the system cores, and once they did so, had to escape the tunnel fast as the shutters began to close. More air units allied with the Grey Men came in from the other side, but all of them were eventually trapped or shot down inside as the Razgriz Squadron and Bartlett escaped. |
The tunnel was eventually opened, and the entire Razgriz Squadron flew in through one side (with Hamilton in hot pursuit) while [[Jack Bartlett]] came in through the other side; they needed to destroy both of the system cores, and once they did so, had to escape the tunnel fast as the shutters began to close. More air units allied with the Grey Men came in from the other side, but all of them were eventually trapped or shot down inside as the Razgriz Squadron and Bartlett escaped. |
||
Revision as of 13:16, 3 June 2014
The Battle of Sudentor was one of the final battles of the Circum-Pacific War. It was fought between a coalition of Osean-Yuktobanian forces and the Belkan Gray Men (who also had some Osean and Yuktobanian warmongers on their side).
Prelude
It was revealed that the Grey Men had a plot to use the V2 MIRV missile, which, after launching and separating into multiple warheads, could obliterate half of all the major cities in either Osea or Yuktobania. It was deployed to the Strategic Orbital Linear Gun (SOLG), an orbital weapons platform developed during the Belkan War that was sent into orbit.
With this information in hand, Osean President Vincent Harling and Yuktobanian Prime Minister Seryozha Viktorovich Nikanor performed a joint speech calling for peace between Osea and Yuktobania. They requested that both their armies help the leaders' allies, the Razgriz Air Command Squadron, with the squadron's attack on a Grunder Industries facility in Sudentor where the controls for the SOLG were held inside a large tunnel.
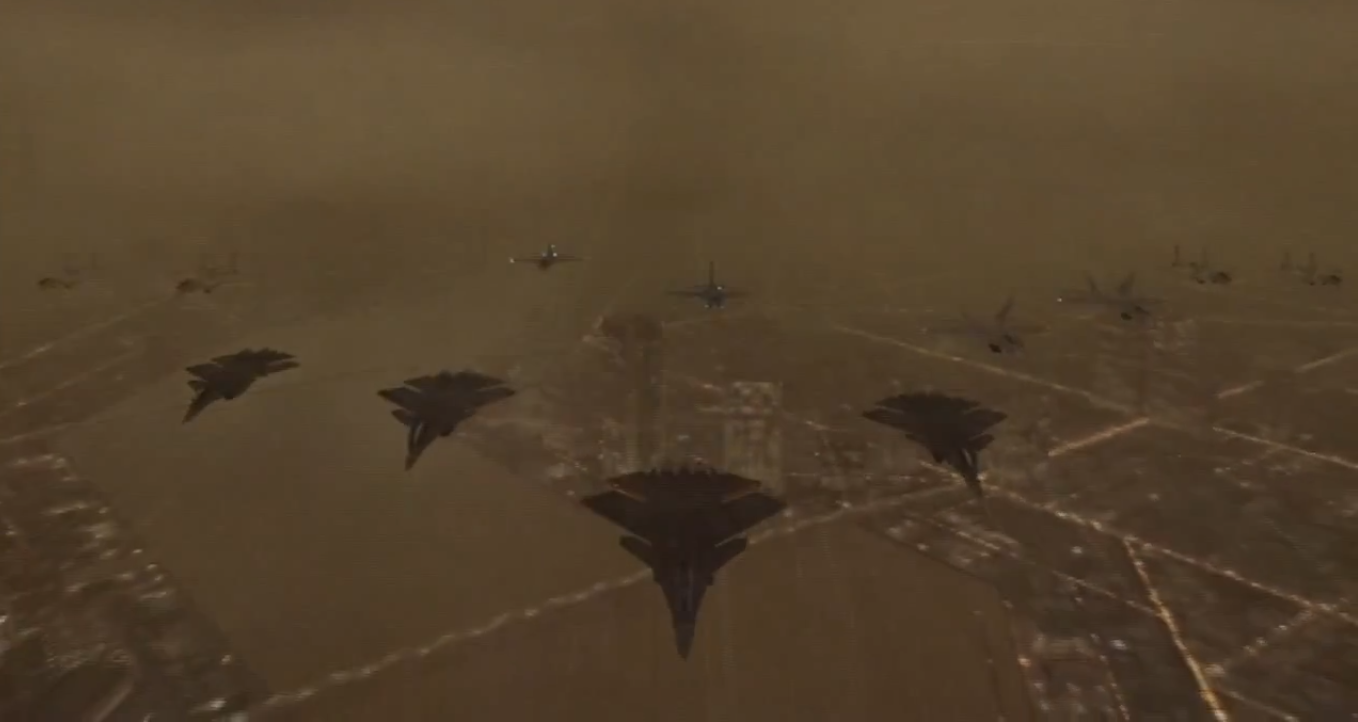
Allied Flight over Sudentor. Oseans, Yukes and Razgriz
The Razgriz Squadron was receiving its mission briefing on board the OFS Kestrel when the OFS Kestrel was struck by a submarine-launched missile. The pilots were sent to perform emergency take-offs while the OFS Kestrel attempted to stay afloat and destroy more oncoming missiles. A second missile hit before take-offs began, but the Razgriz Squadron successfully took off just before the carrier sank. An allied ship successfully destroyed the submarine. All of the crew was safe on lifeboats, most rescued by the Andromeda and others by other ships of the Kestrel Fleet, and Razgriz headed for Sudentor.
Battle
By the time the Razgriz Squadron made it to Sudentor, most of the Osean-Yuktobanian coalition forces were already in the area. Multiple units from both countries joined Razgriz, including Oka Nieba, a Yuktobanian AWACS. In response, Grunder Industries requested assistance from the countries' forces as well, more specifically the warmongers, and offered them a V1 tactical nuclear weapon in exchange. AA artillery and defensive pillboxes belonging to Osean Federation opened fire on the coalition forces, while the coalition's tanks and helicopters attempted to enter the area. With close air support from Razgriz, the pillbox line and AA artillery were destroyed. Partly through the battle, air units from the warmongers, including Allen C. Hamilton, all began to engage the Razgriz Squadron at once. The coalition air units moved to defend them while the ground forces and helicopter units began to open the facility's tunnel.
The tunnel was eventually opened, and the entire Razgriz Squadron flew in through one side (with Hamilton in hot pursuit) while Jack Bartlett came in through the other side; they needed to destroy both of the system cores, and once they did so, had to escape the tunnel fast as the shutters began to close. More air units allied with the Grey Men came in from the other side, but all of them were eventually trapped or shot down inside as the Razgriz Squadron and Bartlett escaped.
Result
The battle was a major success for the two countries, as the enemy units were mostly crushed and peace had finally been restored once more. The only major loss was of the aircraft carrier Kestrel, which was one of OMDF remaining carriers, but none of the crew was lost.
The destruction of the control facility in the tunnel, however, did not completely remove the threat of the SOLG. It was programmed to descend onto Oured, the capital of Osea, and crash into the ground to detonate the V2 if control was cut off from the facility. Operation: Arcadia was quickly formed to deal with the threat.
Trivia
- The SOLG began to attack the ground troops with an unspecified weapon. However, its attacks were well out of range and did not harm any of the troops, although it did knock out communications for a while.
- When Hamilton appears if you shoot him with TLS, it will be shot down and will show you destroyed him two times, earning double points.