(Count is not Strider 3 during Operation Domino (confirmed by a screenshot)) |
(Get status of former Strider 1 when player drags on the fight with the Mimics.) |
||
| Line 6: | Line 6: | ||
[[Long Range Strategic Strike Group|LRSSG]] |
[[Long Range Strategic Strike Group|LRSSG]] |
||
| fullname = 124th Tactical Fighter Squadron |
| fullname = 124th Tactical Fighter Squadron |
||
| − | | leader = |
+ | | leader = Unnamed pilot (Strider 1) †<br>[[Trigger]] (Strider 1)<br>[[AWACS Long Caster]] |
| members = [[Skald]] (Strider 2; Strider 3)<br>[[Count]] (Strider 2)<br>[[Lanza]] (Strider 2; Strider 4)<br>[[Jaeger]] (Strider 3)<br>[[Húxiān]] (Strider 4) |
| members = [[Skald]] (Strider 2; Strider 3)<br>[[Count]] (Strider 2)<br>[[Lanza]] (Strider 2; Strider 4)<br>[[Jaeger]] (Strider 3)<br>[[Húxiān]] (Strider 4) |
||
| equipment = [[F-15C Eagle]]<br>[[F-22A Raptor]] |
| equipment = [[F-15C Eagle]]<br>[[F-22A Raptor]] |
||
| Line 39: | Line 39: | ||
<span class="spoiler">On September 4, Strider Squadron was deployed to [[Artiglio Port]] in order to defend a landing fleet led by the [[OFS Puffin|OFS ''Puffin'']], tasked with capturing the submarine ''[[Alicorn]]''. While defending the fleet, Trigger was engaged by [[Mimic Squadron]], whose goal was to shoot down Three Strikes. After a brief engagement, Mimic was forced to retreat from the airspace. Later on, the ''Alicorn'' launched [[SACS]], whose leader was carrying a [[Cruise missile|cruise missile]]. Concurrently, the ''Alicorn'' began making its escape. Ultimately, Trigger shot down the SACS before they could leave the airspace.<ref name="AC7-SP01">{{Cite game|AC7|SP01}}</ref><span> |
<span class="spoiler">On September 4, Strider Squadron was deployed to [[Artiglio Port]] in order to defend a landing fleet led by the [[OFS Puffin|OFS ''Puffin'']], tasked with capturing the submarine ''[[Alicorn]]''. While defending the fleet, Trigger was engaged by [[Mimic Squadron]], whose goal was to shoot down Three Strikes. After a brief engagement, Mimic was forced to retreat from the airspace. Later on, the ''Alicorn'' launched [[SACS]], whose leader was carrying a [[Cruise missile|cruise missile]]. Concurrently, the ''Alicorn'' began making its escape. Ultimately, Trigger shot down the SACS before they could leave the airspace.<ref name="AC7-SP01">{{Cite game|AC7|SP01}}</ref><span> |
||
| − | <span class="spoiler">Six days later, Strider was deployed to [[Anchorhead]] to destroy mothballed Erusean ships, thereby preventing the ''Alicorn'' from gaining allies and resupplying. To reduce radar detection, Strider was sent in alone.<ref name="AC7-SP02">{{Cite game|AC7|SP02}}</ref></span> |
+ | <span class="spoiler">Six days later, Strider was deployed to [[Anchorhead]] to raid the naval facilities and destroy mothballed Erusean ships, thereby preventing the ''Alicorn'' from gaining allies and resupplying. To reduce radar detection, Strider was sent in alone. During the mission, ''Alicorn'' deployed long-range railgun attacks in an attempt to shoot down the squadron. First attack managed to damage Húxiān, forcing her to retreat from the airspace. She then remained out of bound at high altitude for as long as the rest of the squadron was still in the operation. After the raid was completed, Mimic Squadron engaged Strider Squadron again, starting by damaging Lanza's plane with a stealth missile. The remaining squadron members, Trigger and Count, provided cover for Lanza's retreat and a dogfight ensued. As the battle raged on, Count told Trigger on a different radio channel that he would act as a lure to give Trigger the opportunity to shoot the sibling duo down. The strategy became successful as one of the siblings was shot down but the remaining one became enraged and frenzied. After a grueling fight with the unpredictable pilot, the last Mimic fighter was finally shot down by Trigger.<ref name="AC7-SP02">{{Cite game|AC7|SP02}}</ref></span> |
<span class="spoiler">On September 14, Strider once again encountered the ''Alicorn''.<ref name="AC7-SP03">{{Cite game|AC7|SP03}}</ref></span> |
<span class="spoiler">On September 14, Strider once again encountered the ''Alicorn''.<ref name="AC7-SP03">{{Cite game|AC7|SP03}}</ref></span> |
||
Revision as of 14:52, 24 October 2019
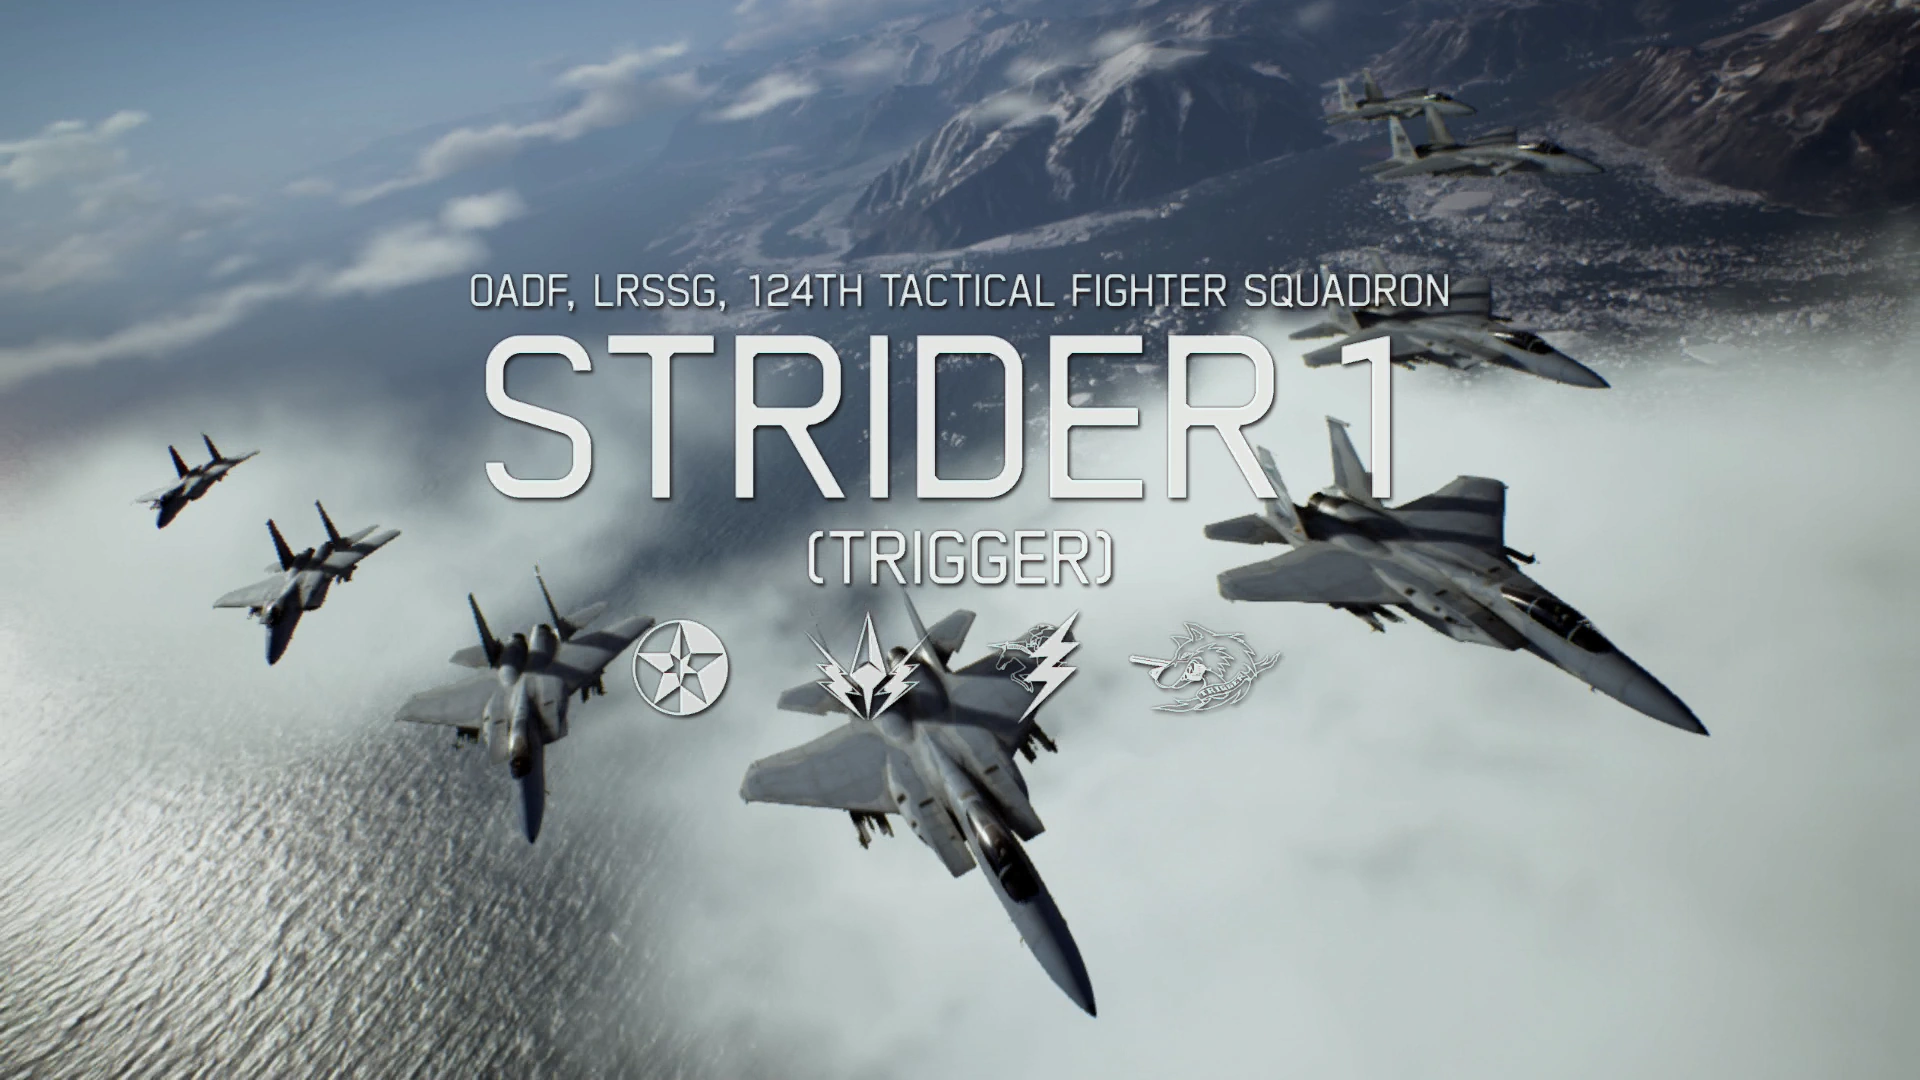
Strider Squadron, officially the 124th Tactical Fighter Squadron,[2] and also referred to as the "Snowbirds",[3] was a unit in Osean Air Defense Force's Long Range Strategic Strike Group (LRSSG).
Throughout the Lighthouse War, Strider Squadron became renowned for its many accomplishments, most notably defending Stonehenge and bringing down Arsenal Bird Liberty. Strider's actions often decided the outcome of many battles during the war.
Strider Squadron was the player's squadron throughout the latter half of Ace Combat 7: Skies Unknown.
History
Return from Stonehenge
Following a reconnaissance mission to the Stonehenge ruins, Strider and Cyclops squadrons' return route changed to Yinshi Valley due to unknown factors. Shortly before entering the valley, they came under pursuit by Erusean MQ-99s, and Spare Squadron was deployed to cover their retreat. With Trigger acting as the rear guard, all Strider aircraft successfully exited the combat airspace. Following Trigger's engagement with Mister X, AWACS Bandog guided the LRSSG back to the 444th Air Base.[4]
New leadership
Following Operation Full House, Trigger, alongside his wingman Count, was transferred to the LRSSG under the request of Wiseman and was appointed the new flight lead of Strider Squadron.[2]

Strider Squadron alongside Cyclops Squadron
On August 10, 2019, aiming to weaken the Erusean Royal Navy, the LRSSG carried out a strategic strike on the Erusean forces stationed at Snider's Top. During the operation, Strider played a key role in sinking the Njord Fleet and destroying both military platforms. Initially, Strider's original members were skeptical of Trigger's leadership, however, after witnessing his skill during the operation, they wholly accepted their new leader. It was during the operation that Strider was first referred to as the "Snowbirds".[2]
Counterattack
Nine days later, Strider played a key role in defending the last remaining Stonehenge turret as it prepared to fire upon Arsenal Bird Liberty. After the railgun's spotter was rendered ineffective, Trigger, alongside Wiseman, crippled Liberty by destroying its main propellors, allowing Stonehenge to shoot it down.[5]
In the following operation, Operation Magic Spear, Strider alone was tasked with assisting Osean bombers in destroying Erusean IRBM silos by guiding the bombers' munitions to their targets. After destroying the main silos, it was revealed that Erusea had been hiding multiple IRBMs underneath a dam and subsequently launched the. Trigger ultimately shot down each missile before they reached critical altitude.[6]
Hunting the Alicorn
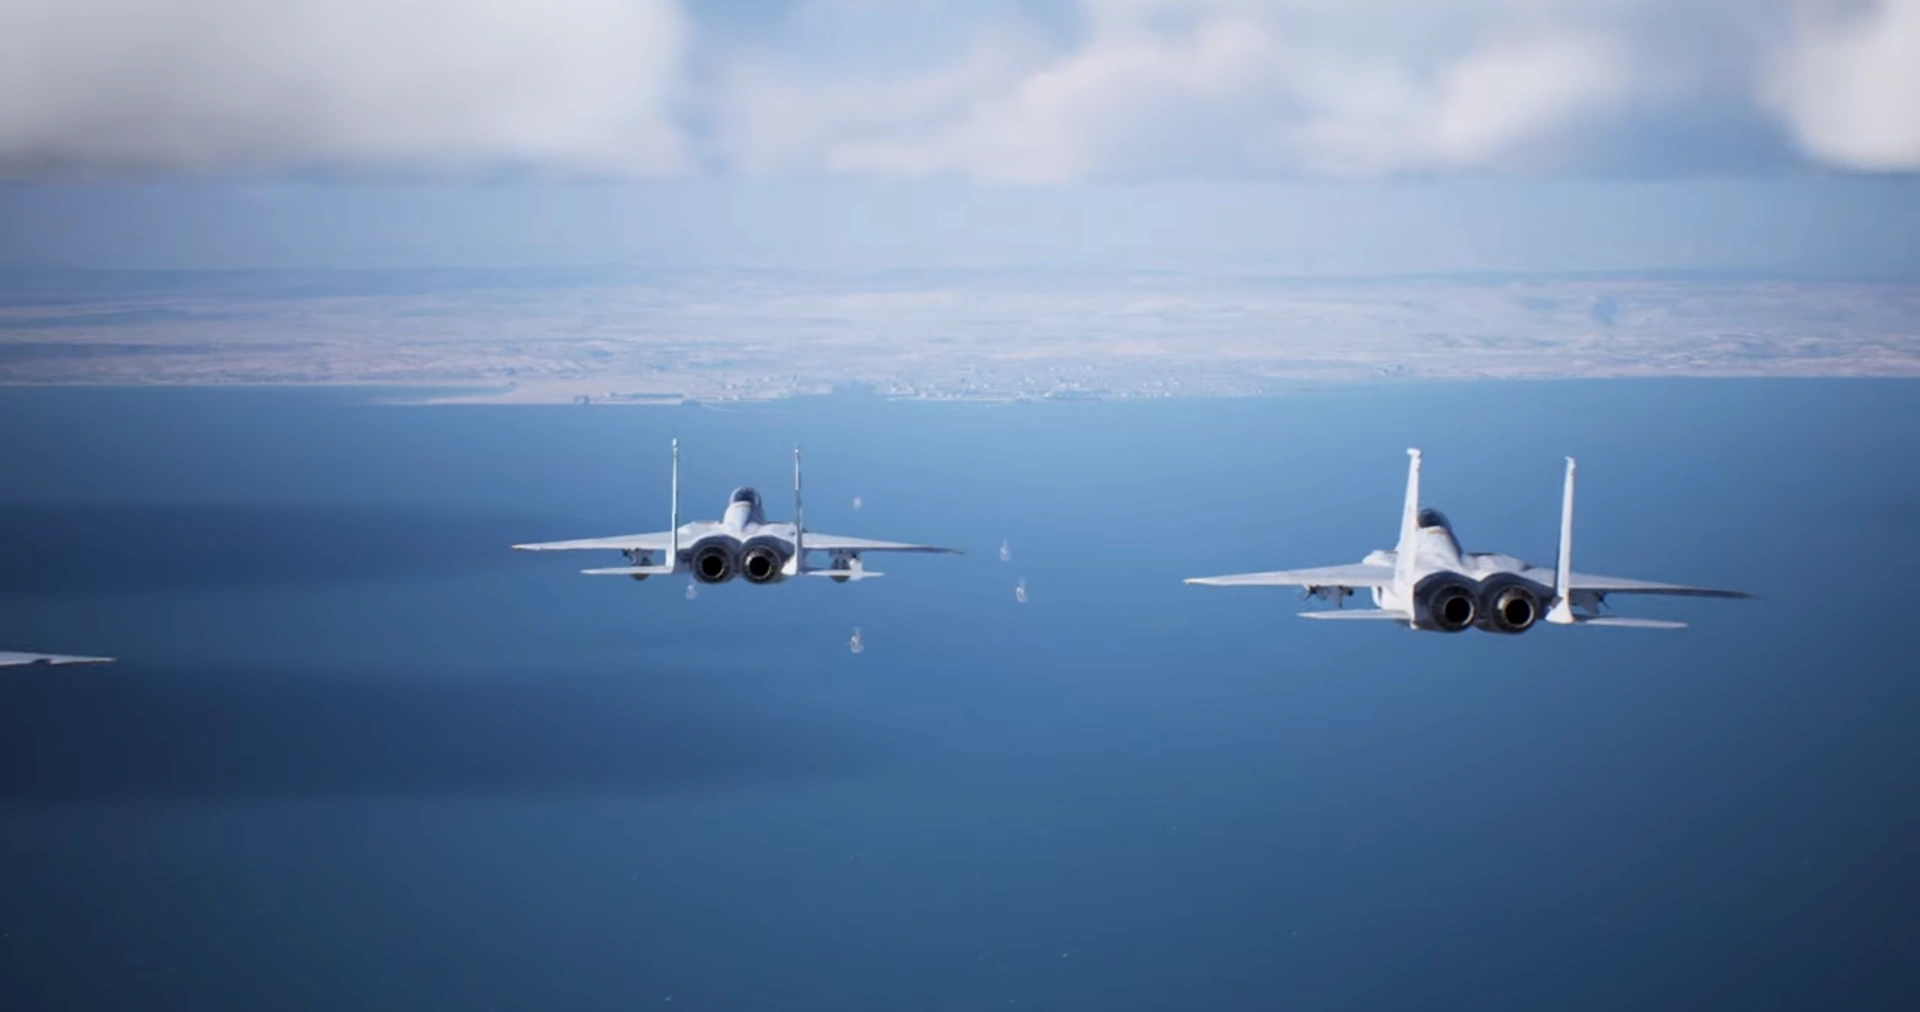
Strider Squadron approaching Artiglio
On September 4, Strider Squadron was deployed to Artiglio Port in order to defend a landing fleet led by the OFS Puffin, tasked with capturing the submarine Alicorn. While defending the fleet, Trigger was engaged by Mimic Squadron, whose goal was to shoot down Three Strikes. After a brief engagement, Mimic was forced to retreat from the airspace. Later on, the Alicorn launched SACS, whose leader was carrying a cruise missile. Concurrently, the Alicorn began making its escape. Ultimately, Trigger shot down the SACS before they could leave the airspace.[7]
Six days later, Strider was deployed to Anchorhead to raid the naval facilities and destroy mothballed Erusean ships, thereby preventing the Alicorn from gaining allies and resupplying. To reduce radar detection, Strider was sent in alone. During the mission, Alicorn deployed long-range railgun attacks in an attempt to shoot down the squadron. First attack managed to damage Húxiān, forcing her to retreat from the airspace. She then remained out of bound at high altitude for as long as the rest of the squadron was still in the operation. After the raid was completed, Mimic Squadron engaged Strider Squadron again, starting by damaging Lanza's plane with a stealth missile. The remaining squadron members, Trigger and Count, provided cover for Lanza's retreat and a dogfight ensued. As the battle raged on, Count told Trigger on a different radio channel that he would act as a lure to give Trigger the opportunity to shoot the sibling duo down. The strategy became successful as one of the siblings was shot down but the remaining one became enraged and frenzied. After a grueling fight with the unpredictable pilot, the last Mimic fighter was finally shot down by Trigger.[8]
On September 14, Strider once again encountered the Alicorn.[9]
Advance into Erusea
Two days after dealing with the Alicorn, Operation Werewolf was conducted, which consisted of the capturing of the Cape Rainy airport to be used as a frontline base from which to launch the invasion of Farbanti. Strider deftly infiltrated Cape Rainy airspace via a narrow canyon, which was heavily surveilled by guard towers and helicopters equipped with searchlights.
The squadron later participated in Operation Giant's Step, and contributed significantly in Osea's success in capturing Farbanti. However, towards the close of the battle, Sol Squadron joined the battle and dealt heavy damage to allied forces. Trigger and the rest of Strider engage Sol Squadron, quickly shooting down Sol 2 through 5. Mister X, however, was not so easy to shoot down, and managed to shoot down Cyclops' flight lead, Wiseman, before Trigger was able to land any hits. As the engagement continued and seemed to arrive at a stalemate, the A-Sat attacks by both countries took place during Trigger's and Mihaly's dogfight, and disabled nearly all communications and data transfer capabilities across most of Usea. Unable to coordinate with their superiors, and unable to utilize the IFF and radar technology on which they all relied, Mihaly withdrew from the combat airspace, followed shortly by the LRSSG squadrons, returning to their own designated emergency landing bases.
Clandestine operations
Ending the war
Roster
- Trigger (Strider 1)
- Skald (Strider 2)
- Jaeger (Strider 3)
- Lanza (Strider 4)
- Count (Strider 2)
- Húxiān (Strider 4)
Gallery
References
- ↑ "Battle for Farbanti", Ace Combat 7: Skies Unknown
- ↑ 2.0 2.1 2.2 Fleet Destruction, Ace Combat 7: Skies Unknown. Cite error: Invalid
<ref>tag; name "AC7-M11" defined multiple times with different content - ↑ "Lost Kingdom", Ace Combat 7: Skies Unknown
- ↑ Mission 07: "First Contact", Ace Combat 7: Skies Unknown.
- ↑ Mission 12: "Stonehenge Defensive", Ace Combat 7: Skies Unknown.
- ↑ Mission 13: "Bunker Buster", Ace Combat 7: Skies Unknown.
- ↑ SP Mission 01: "Unexpected Visitor", Ace Combat 7: Skies Unknown.
- ↑ SP Mission 02: "Anchorhead Raid", Ace Combat 7: Skies Unknown.
- ↑ SP Mission 03: "Ten Million Relief Plan", Ace Combat 7: Skies Unknown.